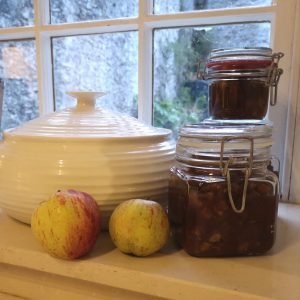
I had to wait several weeks after making this Spiced Apple Chutney before I was able to taste it, but it was worth the wait.
I decided to make this Spiced Apple Chutney after collecting a big bag of apple windfalls from a recent storm. What better way to spend a lazy Sunday afternoon?
It is really simple to make chutney but it does take a bit of time and preparation and, just to warn you, your kitchen will smell of vinegar for days afterwards (I have a bit of a love/hate relationship with the smell of cooking vinegar, it grabs you by the back of throat but is quite invigorating at the same time)
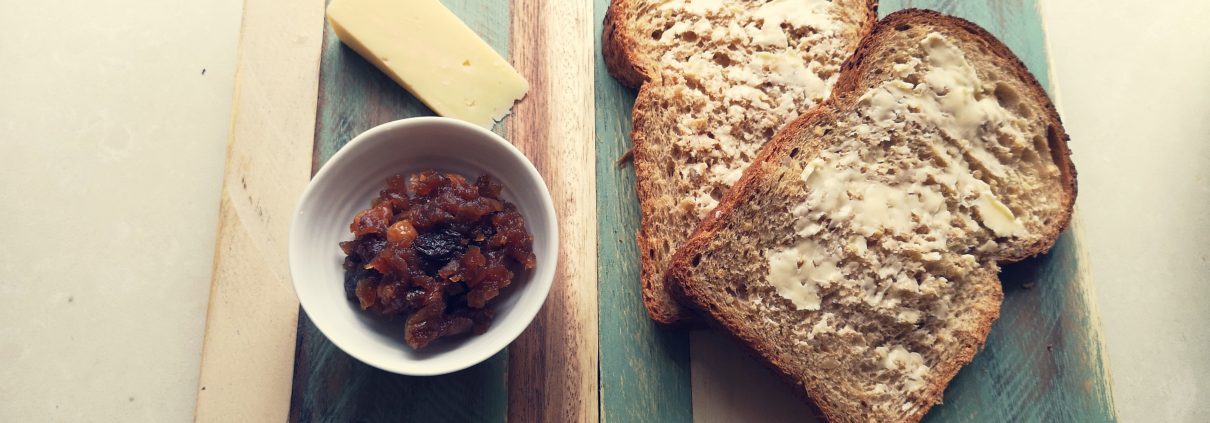
That said, it is well worth the time and effort to make your own chutney as it will be much nicer than store-bought variations. Jars of homemade chutney also make good gifts if well presented. Try this chutney with a big hunk of cheddar cheese and crusty bread, or with a ploughman’s lunch.
Vegetarian
Time:
20 minutes preparation time. About 2 hours cooking and about 2 weeks maturing.
Skill level: Easy to Middle
Makes about 1kg of chutney
INGREDIENTS:
8 Medium apples
4 pink or red onions
225g (1/2 lb) sultanas
450g (1lb) brown sugar
550ml (1pint) apple cider vinegar (or use white malt vinegar if you wish, but it will not taste as mellow).
12g salt
1 tsp mustard seeds
½ tsp ground ginger
¼ tsp garam masala or curry powder
¼ tsp cinnamon
pinch of nutmeg
EQUIPMENT
It helps if you have a preserving pan or large wide – brimmed saucepan for this recipe. Preserving pans are quite expensive but are worth the investment if you are going to make preserves a lot as they reduce the cooking time by speeding up the evaporation process. They are not a necessity though. Likewise, a food processor will speed up the preparation time and help reduce teary-eyes brought on by chopping lots of onions.
You will also need enough clean glass jars with lids for your preserve. One thing to bear in mind when you are making spiced apple chutney, or any preserve, is that you will need to sterilize your jars before using them; this is to prevent any microbes from contaminating the preserve and spoiling it.
Finally, a metal funnel is also useful for transferring preserves into the jars without spillage but again it is not a necessity.
HOW TO STERILIZE A JAR FOR PRESERVING
First make sure that you have enough jars for the amount of chutney you intend to make (better to have more and not need them than the other way around). Make sure the jars are washed thoroughly. You can sterilize them by immersing them in a pan of boiling water for 5 minutes, removing and using straight away. Alternatively, you can put them in a hot cycle in the dishwasher and leave the door closed until you are ready to use them, you can then use them still hot from the dishwasher. Take care not to burn or scald yourself when handling the hot glass and bare in mind that the hotter the glass when you add the preserve the stronger the vacuum seal when the preserve cools. (I have found it tricky to get into kilner jars in the past due to this).

Spiced Apple Chutney
METHOD:
- Peel, core and chop the apples then add to the pan.
- Peel and finely chop the onions and add to the pan.
- Add all the other ingredients to the pan then put on a medium heat and bring to a simmer.
- Continue to simmer the chutney for about 1.5 – 2 hours, stirring frequently, taking care not to let it stick or burn.
- You will know when the chutney is ready when it has reduced by about a half.
- Another way to tell if the chutney is ready is when you run a wooden spoon across the base of the pan and the chutney remains fairly firm. If the groove instantly fills with liquid then continue to reduce for a little longer.
- Once the chutney is ready then transfer to the sterilized jars, seal and leave to cool.
Leave the chutney for at least two weeks for the flavors to mellow and mature before eating.
Enjoy!


